
My dear friend Kandi just purchased and renovated a kitchen table from her local Craig’s List ads. I’m excited to share her experience and the steps along the way to complete this fabulous table, all for under $100!
Kandi is a full-time nurse, wife, and mother of two beautiful boys. She has been working hard with her family to renovate their new home, and I just love seeing her projects along the way.
Below is a photo of the original table. The total purchase for both chairs and table was $25. She did not intend to keep the chairs, and ended up selling them quickly for $40. Therefore, her project began with a positive $15 in hand.

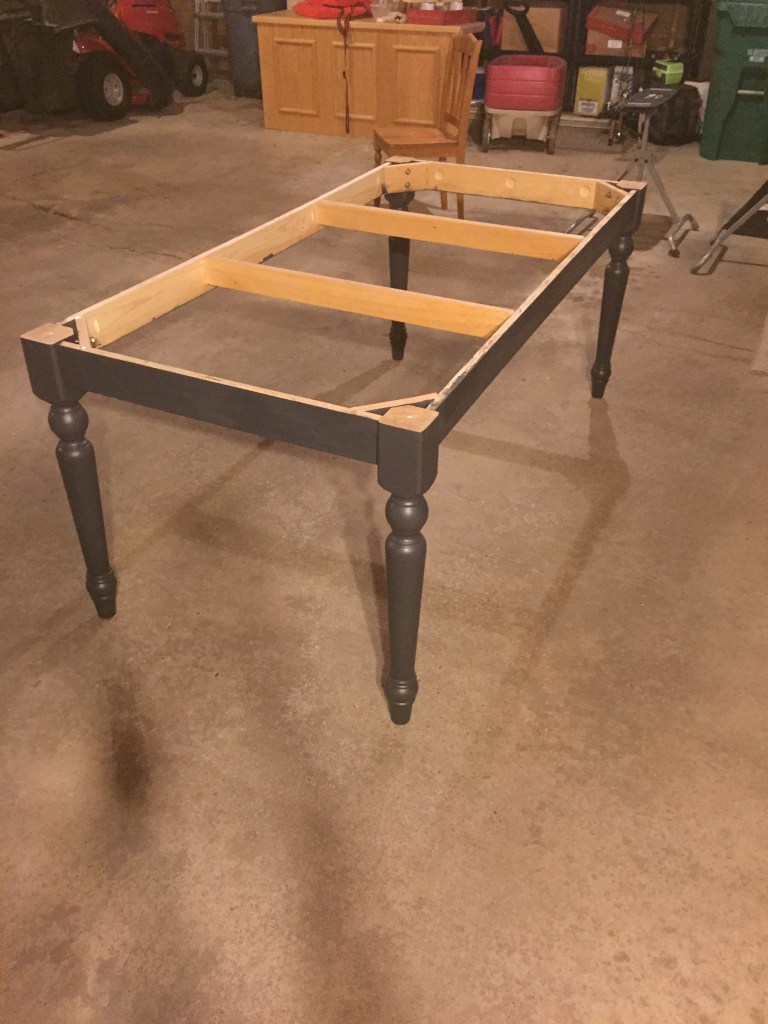
Step 1: Remove the top and add longer 2×4’s to the long sides, to allow for seating to accompany 8, rather than 6 people.


Step 2: Put frame back together (photo above), then remove the legs to prep for paint.


Step 3: Paint legs and allow time to dry. The paint Kandi chose was Rustoleum brand chalked paint in ‘charcoal’ (far left in above photo). Once dry, re-secure the legs to the table frame.

Step 4: Four 2×10 boards of douglas fir were cut to 76 inches of length, and purchased at Lowes (along with pretty much all of the supplies). The boards were put together with a Kreg Pocket Hole Jig in order for the screws to be hidden. (photo below of assembling and securing the boards) The top will hang over 3 inches on the long side and 1 1/2″ over the shorter side.


Step 5: Take a razor to all of the edges, in order for it to have a more worn look, and then smooth down the corners. After using the razor, take an electric orbital sander and sand the entire top. The sanding will definitely take a while, but is worth it in the end! Complete your sanding with a fine grit to really smooth it out.

Step 6: Apply a coat of wood conditioner, let sit for 15-20 minutes to absorb.

Step 7: Apply the first coat of stain. The stain used in this project was Minwax Wood Finish in Dark Walnut (on left in photo). Use a rag to apply/rub in. This particular finish ended up being a bit dark compared to what Kandi had envisioned, therefore she lightly sanded by hand after the first coat. The next coat of stain is the Minwax Wood Finish in Classic Gray. 


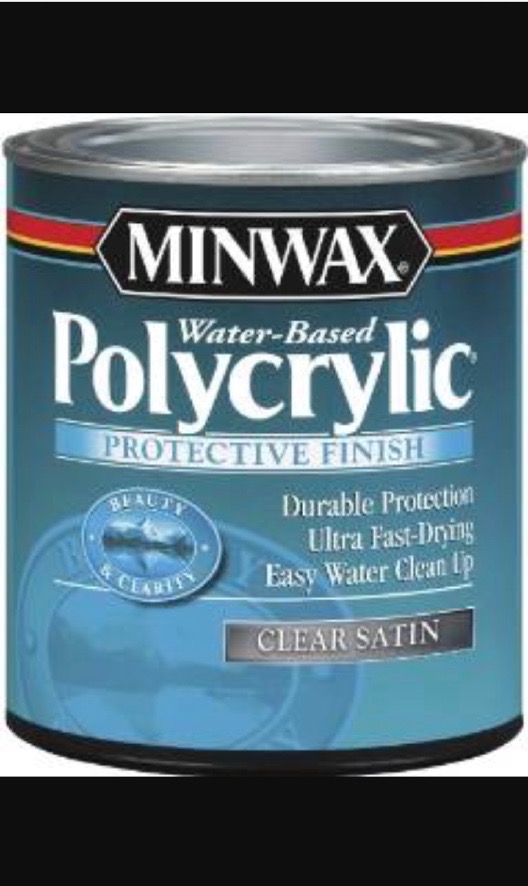
Step 8: Apply 3 coats of Minwax Water-Based Polycrlic in Clear Satin. Wait approximately 3 hours in between each coat.
Step 9: Screw together the wood tabletop to the frame/legs. This is made easier by completing the task with the table flipped upside down. It’s important to note the stain and clear coat were used underneath the table edges up to the base.

…..and that’s it!
Now for the final product:


A few things to note: A lot of stain and paint was leftover, which makes for great use in other projects and budget friendly. All of the supplies were purchased at Lowes (this is not a sponsored post). A special brush was used to apply the chalk paint versus a flat brush. The screws were all used from the previous table, and no new screws were needed. Gloves are a definite “must” with staining, so don’t forget those! It’s a great idea to use a face mask while sanding to prevent any respiratory irritation.
Next to come, Kandi’s bench and chairs! She is currently working hard at completing her dining room set, and I can’t wait to share it with you! Thank you for reading.
Great post! The table turned out awesome!